Subscribe


Thursday, June 28, 2012
 Photo Cookies 101
Photo Cookies 101
I spent a lot of time trying to figure out photo cookies and a lot of time being totally frustrated! I am here to help you avoid the frustration and get straight to fabulous photo cookies!
Some of the problems I encountered in my learning process were
- If the edible paper (EP) got too wet it would rip or the edible image (EI) would smear.
- If I didn't wait long enough for the EI to dry they would stick to the cello bag when packaged and rip off the cookie, very frustrating!
- Or the opposite, not sticking to the cookie once it was dried.
Step 1
There are a lot of suppliers out there. I buy my supplies from Kopy Kake. They are always so helpful when I have questions about the product or settings for my printer. I use the 8" x 10.5" frosting sheets and MSWord. I also occasionally use Kopy Kake's Decorator program, but I prefer Word, which gives me more creative freedom.
Step 2
I cut my Edible Images (EIs) by hand. I use to use a Cricut Trimmer, but the blades dulled quickly and replacement blades always seemed to be out of stock at Michael's.

Sometimes I didn't line up my images exactly right in Word and when using the trimmer I would accidentally slice off a needed edge of my image....DOH!
Hand cutting works much better. After cutting them I put them in a sandwich bag to keep them from drying out.
Step 3

After I have cut out all my EIs, by the way, I leave the backing sheets on them if possible when I have cut them out, keeps them from sticking to each other in the sandwich bag, I take my corner rounder that I bought with my 40% coupon at Micheal's (NEVER shop without it!).
I round all the corners on my EI. This helps keep the edges down on the cookie and gives it a clean, professional look when finished.


Step 4
(Personal Note: In the next pictures you will notice my hands, I have vitiligo. Harmless, noncontagious autoimmune disease, but I HATE IT!)


Step 5
I place the EI on the cookie and run my finger across the top and around the edges to make sure it is securely on the cookie.


Ta Da!
The finished product! I let the cookies dry overnight at the very least, but preferably 24 hours.


Feedback
I would love to hear from others how they put their images on cookies. I know there are many different ways. I hope you learned something you didn't already know!
Tracy - The Queen Bee @

Wednesday, June 20, 2012
Photo Cookies
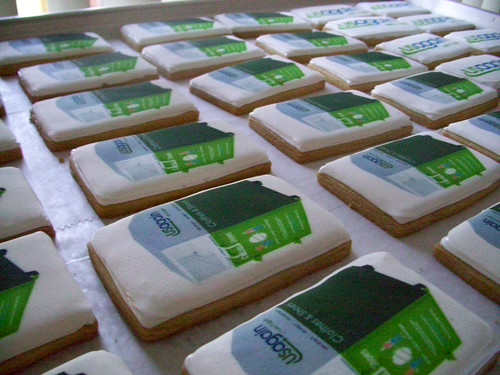
I get requests all the time for photo cookies. They are a great way to make a very big impact on the recipient. I struggled for a long time trying to find the right way to put the paper on the cookie without ruining it. Finally, after about 3 years, I got it right (yep, I can be a slow learner sometimes! LOL).
I want to share with you what I have learned to help you cut down your learning curve! So today I will be making some photo cookies and photo documenting the process so that I can post it here tomorrow. Watch for it!
Subscribe to:
Posts (Atom)
